A thorough understanding and practical application of neutral buoyancy is the most important skill for safe and enjoyable diving. What are the key factors influencing buoyancy control, and how can you improve your buoyancy skills?
Many different things factor into perfect buoyancy, each going hand-in-hand. If you are lacking in one area, your overall buoyancy and comfort underwater will be affected. This comprehensive guide is split over 4 parts, each deep-diving into the key elements to improve your buoyancy: breathing control; weighting; use of the BCD; trim and finning techniques.
We recommend reading all parts of this series to see if you are aware of – and using – these points to improve your buoyancy, even if you think you may have mastered certain elements.

So, you have read part 1 and 2 and on breathing control and weights. It’s now time to discuss optimum BCD use for buoyancy control. How should the BCD be used to achieve neutral buoyancy and how can you tell if you are truly neutrally buoyant?
Firstly, it is absolutely possible to achieve neutral buoyancy with your BCD even if you are overweighted or using improper breathing techniques. However, it will be significantly more difficult to master. Fine-tuning your breathing and weights will enable you to use the BCD as it should be used to achieve neutral buoyancy – minimally.
How to use your BCD
While underwater, air should be added to and removed from the BCD in small increments. A slight pause should follow any alteration to allow time for the effects to take place and to analyse if any more needs to be added or removed.
A common issue for divers struggling to achieve neutral buoyancy with the use of the BCD is adding or releasing too much air to and from the BCD too often. For example, a diver begins to descend too fast or too close to the reef. Without much thought, they hold down the inflator button and a few seconds later start to ascend. At this point, the diver realised that they added too much and now has to release some. They end up releasing too much and begin a cycle. This is perpetuated by improper breathing control i.e. continuing to exhale as you are descending when you want to ascend.
Instead, fully inhale using your maximum lung capacity and allow some time to ascend with a slow inhale before exhaling. If you are ascending and want to descend, first fully exhale and allow time to descend. Using your lung capacity before your BCD will allow you time to assess how much air actually needs to be added or removed, if any. Find out how to recognise when to add or remove air from the BCD below.
How to effectively release air from the BCD
Gasses can only rise underwater. Just like the bubbles from your exhale. When releasing air from the BCD it is vital that the release valve you are using is at the highest point on your body.
To use the inflator hose to release air, go into a vertical orientation extending the hose above your shoulders, allowing the air to rise up and escape. Even a very slight angle forwards will trap the air in the BCD on your back or under your shoulders. We often see divers trying to release air in a horizontal position, signalling that no air is coming out and that they must not have air left to release. A simple reminder to go vertical in the water leads to an ‘ah ha!’ moment as the remaining air can now escape.
The size and style of the BCD that you are using can impact how easily air can escape from the bladder, or how easy it is for air to become trapped. As you become more experienced and understand the characteristics of your specific BCD, you may be able to simply roll on your side in a slightly upwards orientation for the air to escape. However for beginners, divers having issues or using new equipment, first attempt in a completely vertical position to avoid air getting trapped.
Practice!
Practice is essential to improve your buoyancy. We would suggest learning your BCD releases thoroughly in a pool or during the deeper part of your dive for a lower change in volume of gas. Practice putting tiny bits of air into the BCD in normal horizontal trim, and immediately releasing in a vertical position. Keep repeating until you have thoroughly learned how to release, so that if you find yourself in a situation where you need to release air quickly to avoid an uncontrolled ascent, you know exactly how your BCD works.
Dump Valves
Most BCDs will feature quick release dump valves. You will likely have one on your shoulder on the opposite side to your inflator hose and one at the bottom of your bladder to the side of the tank. Dump valves are mostly used in situations where you may want to release the air quickly, such as ascending too fast. The inflator hose release is more controlled, used more for fine-tuning. Use the dump valve on the shoulder in a vertical position and the dump valve at the bottom of the bladder in a slightly inverted horizontal position.
This can be useful to use once you are more experienced – you can maintain your horizontal trim and just slightly kick your lower body upwards to place the valve at the highest point, release some air, and easily continue in horizontal trim.
Remember: when in a vertical position, especially when neutrally or positively buoyant, do not kick unless you intend to ascend! If you simply wish to release air to the BCD as you are becoming a little positively buoyant, kicking whilst vertical will send you to the surface. Read more about efficient finning and techniques here.
When to use your BCD
Your BCD is an aid to achieve positive (on the surface) and neutral buoyancy while diving. It’s important to understand when to use it to adapt and improve your buoyancy.

On the surface
Fully inflate your BCD to achieve positive buoyancy at all times on the surface for safety and comfort. Get into the habit of having your inflator hose in hand whilst ascending, ready to inflate as soon as your head breaches the surface.
Descending
If you know you are properly weighted, fully deflate your BCD and fully and slowly exhale to begin your descent. Use your breathing capacity to control the rate of descent until a depth at which you begin to feel a little too heavy for effective breathing. Begin adding small amounts of air at a time as you go deeper.
If you think or know that you are overweighted (you usually sink like a stone at the beginning of a dive), let the air out of your BCD in portions to avoid a fast descent, especially if you have problems equalising. Unlike a fast ascent, a fast descent is no problem – providing you can equalise fast enough. Be sure to do weight checks often to make diving easier and safer. Read Improve your Buoyancy: Part 2 – Weights here for more information.
During the dive
Continue to add small amounts of air to the BCD whilst maintaining a relaxed and slow breathing pattern around mid-range to achieve neutral buoyancy. Be aware that throughout the dive your tank will become progressively more buoyant as you use the air if you are using aluminium tanks. In addition, as you begin to shallow up throughout the dive, the air that you put into the BCD at the beginning of the dive at your deepest point will begin to expand. Release small amounts of air whenever you feel like you are becoming slightly positively buoyant or beginning to float up. To avoid uncontrolled ascents as you are learning to recognise these feelings, think ahead and release some air before you ascend to a shallower depth.
Ascending
The inflator button is NOT an elevator switch. At no point should air be added to the BCD to ascend! Ascents must be slow and controlled to avoid the formation of bubbles in the bloodstream – adding air to the BCD to ascend/whilst ascending will lead to a fast, uncontrolled ascent as this air expands and possible injuries including DCS and lung overexpansion (if you are not breathing continuously). Instead, begin your ascent neutrally buoyant. As you slowly begin to ascend, the air in your BCD will begin to expand and you will become positively buoyant. Release air from your BCD in small increments during your ascent, maintaining neutral buoyancy. Be aware of your movements and do not kick if in a vertical position neutrally or positively buoyant. Use your breathing control to assist your ascent.
How to recognise if you are negatively or positively buoyant during a dive
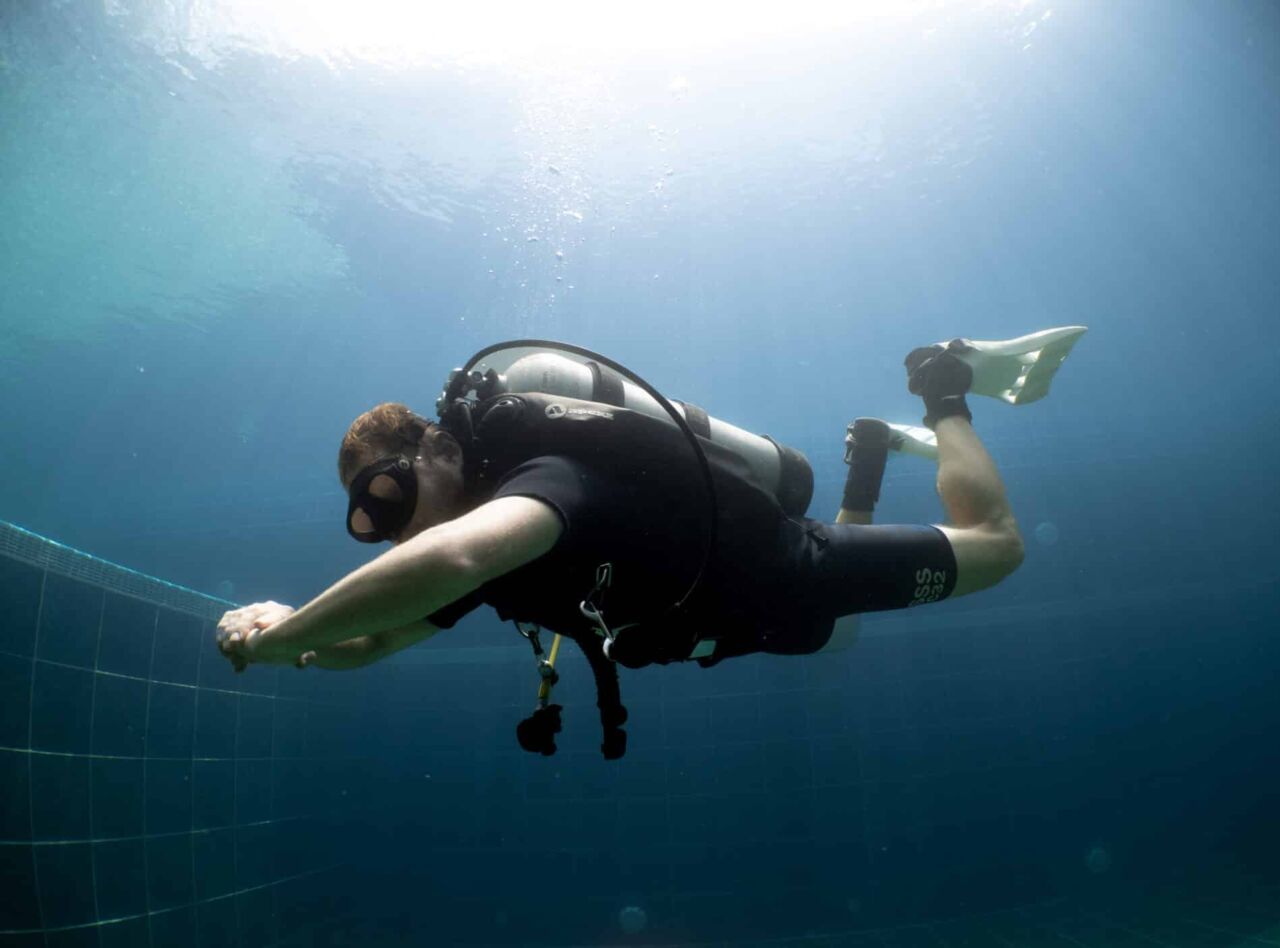
Neutral buoyancy is an effortless hover at the same depth in the water with minimal variation of your depth whilst breathing normally, and an increase and decrease in depth with deep inhales and exhales. Achieving true neutral buoyancy means that you can minimise your movement underwater – maintaining an effortless hover, only kicking when you want to move and using your breathing capacity to change your depth when necessary.
Negative
The most obvious giveaway that you are negatively buoyant is constant finning/kicking. You are likely also in a slightly vertical position, kicking yourself upwards to maintain your depth.
Slow down your kicking whilst adding small amounts of air to your BCD. Then stop kicking. If you still need to kick upwards to maintain your depth, add more air. You will then be able to hover and only kick when you actually want to move. This will conserve your energy – and your air – and enable you to begin to fully relax.
The amount of air that you add to the BCD will also affect the lung capacity that you use when breathing. If you are breathing deeply just to maintain your depth, try adding a little more air to your BCD so that you can use a more relaxed breathing pattern at a slightly lower capacity. This will also lower your air consumption.
Don’t be afraid to experiment with adding and removing SMALL amounts of air from your BCD. Analyse the effects of these changes on your movement and breathing rate/capacity. If you don’t try, you won’t know!
Positive
Adding too much air to the BCD, not releasing air as you begin to ascend, or breathing too deeply, will lead to you being positively buoyant. Signs include a floating feeling leading to kicking downwards and sometimes shallow breathing at a capacity that is uncomfortably low for you (providing it isn’t deep breathing that is making you more buoyant). If you are breathing deeply, first fully exhale until you begin to descend, then assess whether you need to release some air from the BCD once normal breathing is resumed. If your breathing is not the cause and you are already breathing with a prolonged low, uncomfortable capacity, immediately release air from the BCD. To avoid uncontrolled ascents, be aware of your depth, release air frequently when you intend to or are already ascending and maintain normal breathing.
Improve your buoyancy with our experienced instructors by joining a RAID Explorer 30 course on board our DiveRACE trips! The RAID course focuses on imparting important skills to improve one’s buoyancy.
Arm and hand Movements
It is common for divers to use their arms and hands to aid in buoyancy control or to attempt to correct poor buoyancy. It is a natural reflex, which develops into a habit. For example, a diver descending too close to the reef may use their hands to scull the water to push them upwards. Likewise, a diver ascending may use their hands to pull themselves down. Habitual arm movements can be observed and used to recognise if you are becoming slightly negatively or positively buoyant.
Breathing Control
A more effective way to change depth is using breathing control. If you feel the need to use your hands in these situations, remember that a deep inhale or exhale is a more effective and faster way to achieve this change in depth. You can learn more about this in Part 1 of our comprehensive guide below.
The sculling of hands to change depth close to the reef, can actually damage the reef. The water movements that the sculling creates, even at a distance, can dislodge and damage unsecure corals and marine life. You may even accidentally hit the reef if you are too close!
Whilst you are perfecting your buoyancy and breathing control, ensure that you maintain a further distance away from reef. If you accidentally become too close to the reef, use one finger to gently push yourself away using a rock or sandy patch (do not touch live coral or animals), instead of sculling your hands. Gently wiggle your finger before touching to make sure the rock is not a camouflaged stonefish or scorpionfish!
Now, we hope that this helped you gain a better understanding of how and when to use your Buoyancy Control Device? Great! Improve your Buoyancy: Part 4 – Trim and finning techniques can be found here. In the final chapter of the series, we will cover the optimum trim for scuba diving, how to achieve it and what factors can alter your trim.
More from the Improve Your Buoyancy series:
Related Articles
-

Improve your Buoyancy: A Comprehensive Guide – Part 1
A thorough understanding and practical application of buoyancy is crucial for safe…
-

Improve your Buoyancy: Part 2 – Weights
A thorough understanding and practical application of neutral buoyancy is the most…
-

Improve your Buoyancy: Part 3 – BCD Use
A thorough understanding and practical application of neutral buoyancy is the most…
