Great underwater images don’t start with an expensive camera. They start with understanding light.
Lighting has one of the biggest influences on your underwater photography and videography. It affects colour, contrast, sharpness, and the overall mood of an image. Even the best camera can’t capture colours that never reach its sensor.
I have used every lighting method while filming whale sharks at Koh Tachai, mantas at Koh Bon, and tiny macro life around the Similan Islands and Richelieu Rock. Those experiences have shown that every lighting setup has strengths, but none is the right choice for every dive.
Instead of asking which lighting setup is best, I prefer to ask a different question.
What am I planning to shoot today?
The answer usually tells me exactly which lighting setup belongs on my camera.
Natural Light
Natural light is where most underwater photographers and videographers begin. Even after using artificial lighting for years, it’s still my favourite way to shoot many dives.
A simple camera setup feels lighter underwater and allows you to move more freely. More importantly, natural light often creates footage that feels authentic. You’re capturing the dive much as you experienced it.
However, natural light is also the most dependent on conditions. Understanding when to use it is just as important as knowing how to use it.
When should you use natural light underwater?
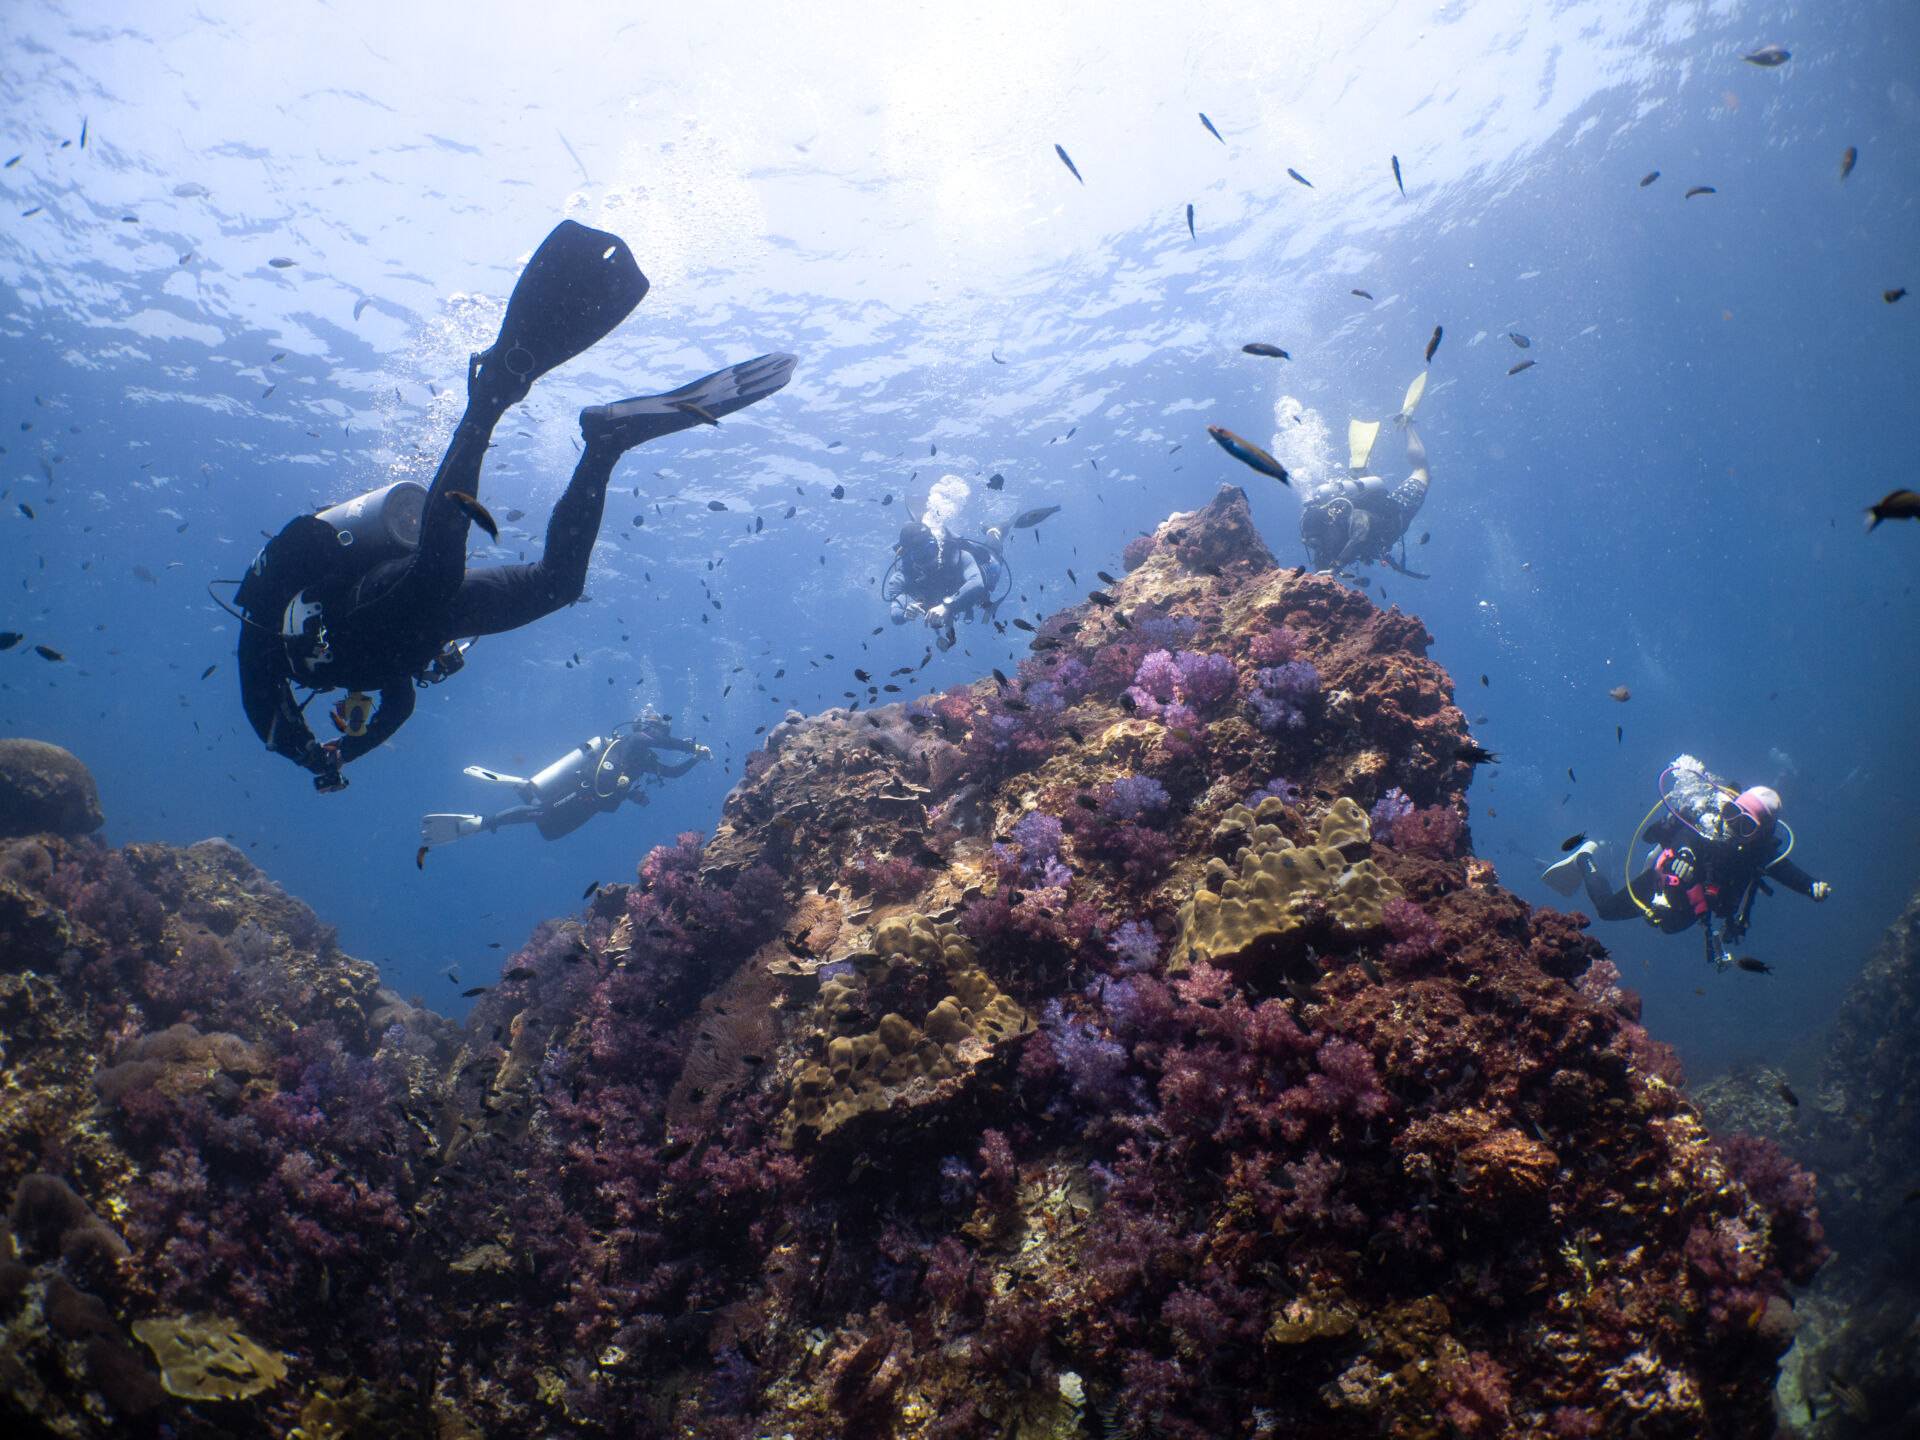
Natural light performs best in shallow water with good visibility and bright sunshine.
In my experience, the sweet spot is usually between the surface and around 15 metres. At these depths, enough sunlight reaches your camera to produce vibrant colours and strong contrast. Clear water improves the results even further because more light reaches your subject.
Many photographers recommend shooting early in the morning or late in the afternoon. While that can produce beautiful light above water, I often find the opposite underwater. Between roughly 11 am and 1 pm, the sun sits much higher, allowing more light to penetrate the water. In clear conditions, this usually produces richer colours and stronger contrast than softer morning or afternoon light.
Around the Similan Islands, I rely on natural light for many of our favourite dive sites. Places like Elephant Head Rock, West of Eden, and Koh Bon often have excellent visibility and dramatic granite boulders that look their best in bright midday sunlight. During the right conditions, natural light captures the scale of these sites beautifully without adding extra equipment.
Manual white balance is key to using natural light underwater!
Learning to use manual white balance is one of the biggest improvements you can make when shooting with natural light.
As you descend, water absorbs different colours at different depths. Red disappears first, followed by orange and yellow. That’s why underwater footage often looks increasingly blue or green the deeper you dive.
Manual white balance tells your camera what should appear neutral under the available light. Instead of accepting the default colour balance, the camera adjusts its colours for the depth you’re shooting at. In low visibility, the image on my camera actually looks better than what I saw with my own eyes.
Setting it is usually straightforward. Point your camera at a white or neutral object at the same depth as your subject. Many divers carry a white slate for this purpose, although a light grey object or even the palm of your hand can work in some situations. Interestingly, I prefer to use sand or a lighter patch of reef at the same depth I’m shooting at. Activate your camera’s custom white balance, and it will calibrate the colours for the available light.
The important part is remembering to repeat the process whenever your depth changes significantly. A white balance set at five metres won’t look accurate at 15 metres because the available light has changed.
Correcting your colours underwater also makes post-production much easier. Instead of trying to recover colours that were never recorded, you’re refining footage that already looks natural. Colour grading becomes faster, and the final result usually looks much cleaner.
What are the limitations of natural light?
As much as I enjoy shooting with natural light, it isn’t the right choice for every dive. Depth, visibility and angle of the sunlight have to be considered. Sometimes there simply isn’t enough light for your camera to capture vibrant, natural-looking footage.
Once I start diving deeper, exploring wrecks or overhangs, or filming macro or close-focus subjects, I know it’s time to add artificial lighting.
That’s where video lights or strobes really come into their own. They restore colour, improve autofocus, and allow you to keep filming long after natural light has reached its limits.
Video Lights
As natural light becomes less effective, video lights are often the next step. They provide continuous illumination, allowing you to see exactly how your footage will look before you start recording. This makes them a popular choice for underwater videographers, especially when colour and consistency are important.
Modern video lights are available with different lumen outputs and beam angles, so choosing the right light depends on your subject and the type of footage you want to capture. Some also include a focus beam to help autofocus in darker conditions, while accessories like snoots can be used to create dramatic lighting for macro photography.
When should you use video lights?
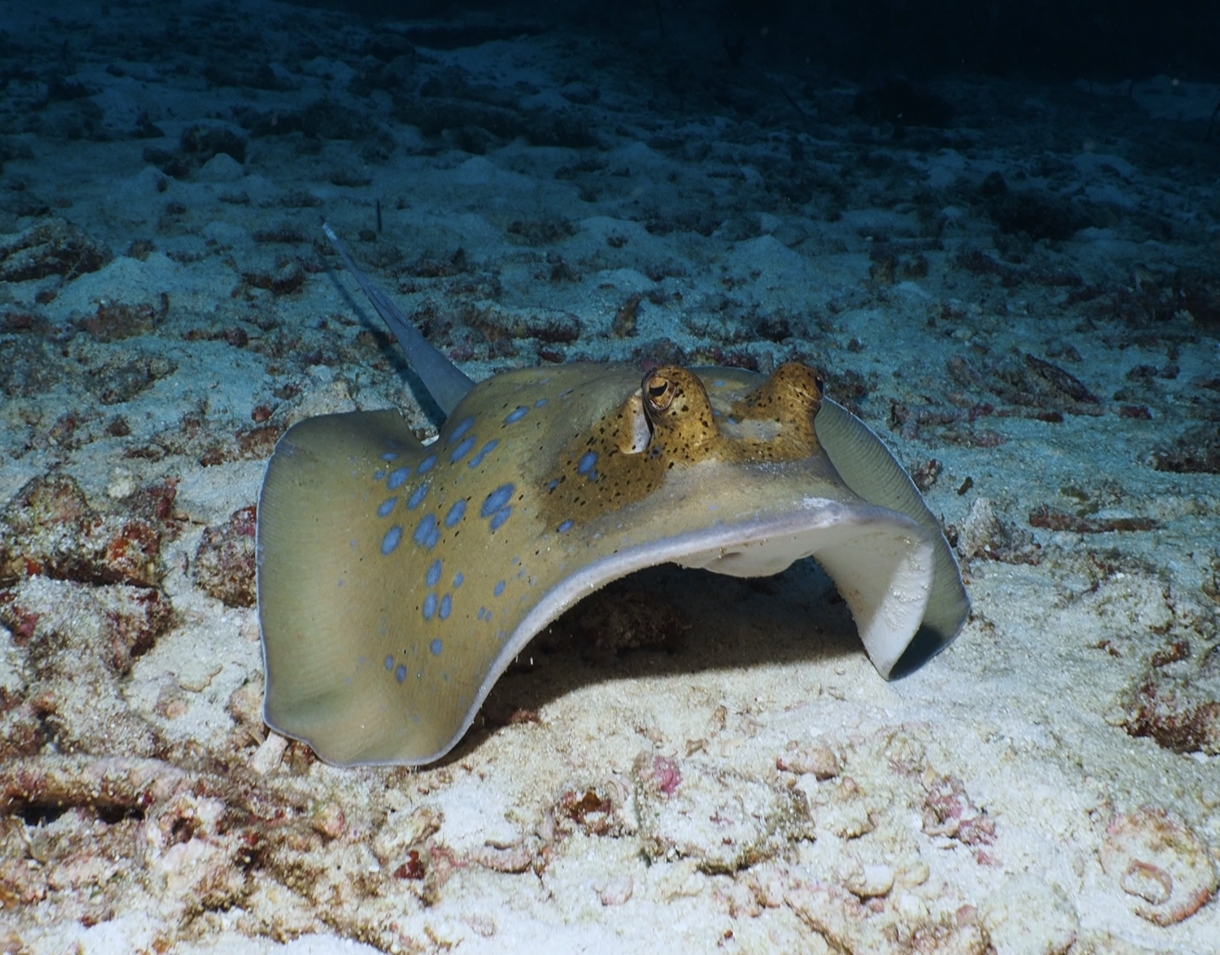
Video lights perform best when your subject is close to the camera. They’re an excellent choice for macro subjects, including nudibranchs, frogfish, octopus, shrimp, and coral details. They are also most useful during night dives, inside wrecks, beneath overhangs, or whenever natural light becomes limited.
In my experience, they’re one of the biggest upgrades you can make for underwater video once you’ve mastered shooting with natural light.
The biggest advantage is seeing the final result in real time. Because the light is continuous, you can adjust your composition, exposure, and camera angle while watching the effect on your screen. This makes filming much more intuitive than using flash photography.
Video lights also restore much of the colour lost underwater, reducing the amount of colour correction needed in post-production. They can even improve autofocus in darker conditions, making it easier to lock onto small or low-contrast subjects.
What are the limitations of video lights?
Like any lighting system, video lights have their limits. Water scatters light surprisingly quickly, so even powerful lights have a relatively short range. They work best when your subject is within a metre or two of the camera. Beyond that, the light quickly loses its effect.
Poor visibility can also make backscatter more noticeable. If your lights illuminate suspended particles between the camera and your subject, those particles reflect the light back into the lens as bright white specks. Positioning your lights wider – so they’re angled slightly outwards from either side of the housing rather than pointing straight ahead – helps light the subject while reducing the amount of light hitting the water directly in front of the lens.
Be aware that artificial light can affect marine life. Some animals are sensitive to bright lights and may change their behaviour, become stressed, or move away altogether. If a subject shows signs of discomfort, reduce your light output or give it space. Capturing a great image should never come at the expense of the animal’s welfare.
For large animals or wide-angle reef scenes in shallow, clear water, I still prefer natural light. It produces a more even image and avoids the bright hotspot that video lights can sometimes create.
If your goal is underwater videography, however, quality video lights are one of the best investments you can make once natural light is no longer enough.
Strobes
While video lights are designed for filming, strobes are built specifically for photography. They produce a powerful burst of light when the shutter is pressed, restoring colours and freezing motion in a way that continuous lighting can’t match. If your main focus is underwater photography, strobes remain one of the most effective lighting tools available.
When should you choose strobes?
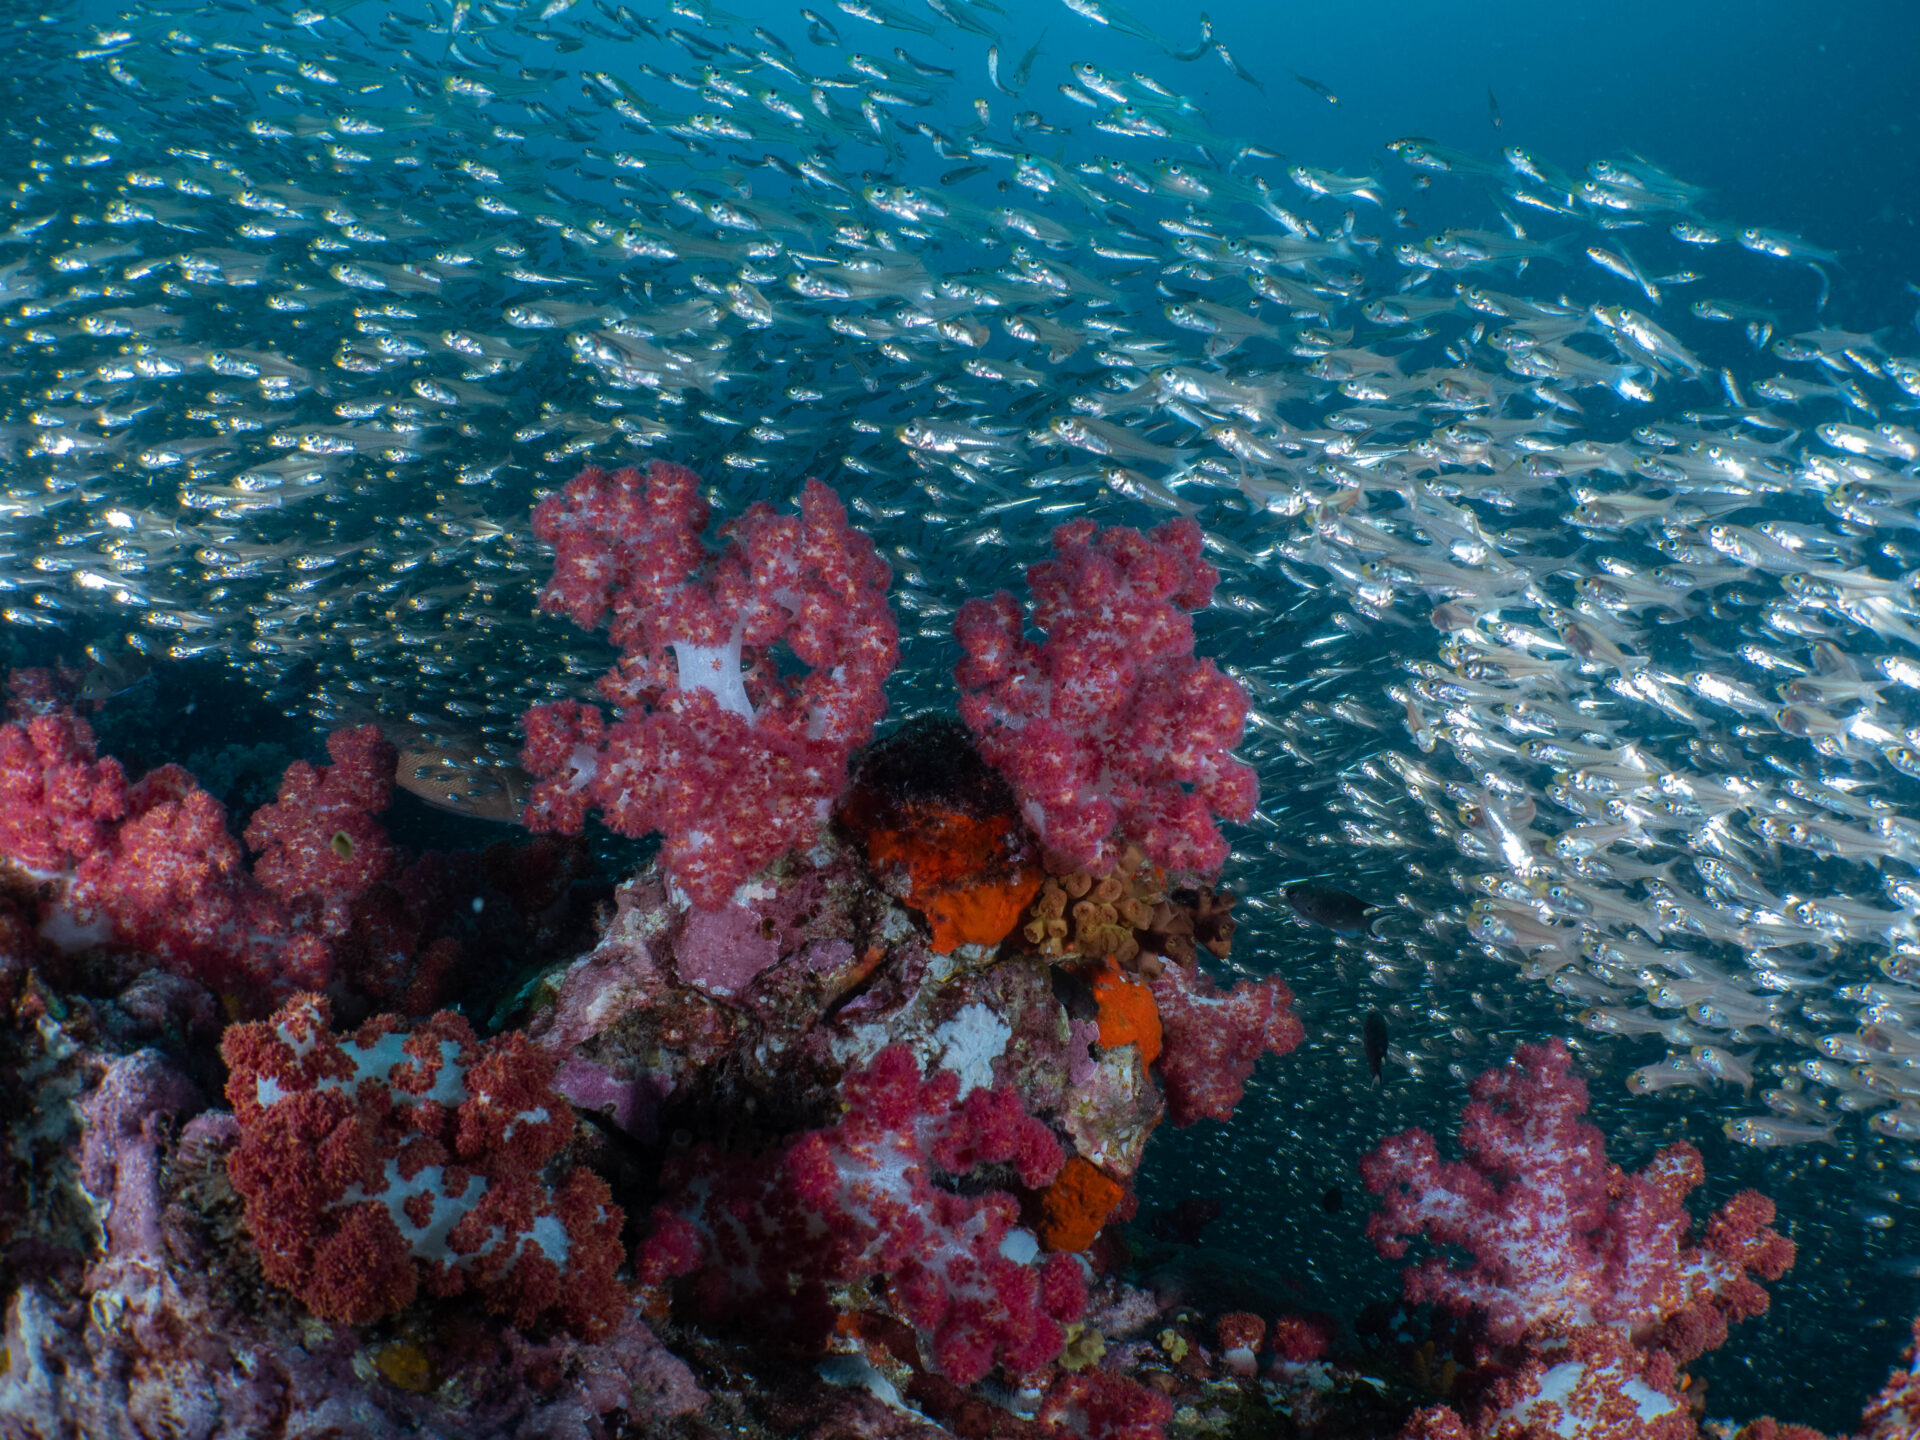
Strobes are an excellent choice for both macro and wide-angle photography. Their powerful flash restores the colours that disappear underwater, producing vibrant images with excellent contrast and sharpness. They’re particularly useful when photographing fast-moving subjects, as the short burst of light helps freeze motion. For photographers looking to achieve the highest image quality, strobes are still considered the benchmark.
The biggest advantage of strobes is their power. Compared to most video lights, they can illuminate larger scenes while producing richer colours and sharper details. They also give you far more creative control over the final image by allowing you to shape the direction and intensity of the light.
Once I became comfortable positioning my strobes, I noticed a huge improvement in my photographs. Colours looked more natural, subjects stood out from the background, and backscatter became much easier to control. Also, you can create shadows by positioning your strobe in a certain angle to achieve dramatic camera effects.
What are the limitations of strobes?
Strobes have the steepest learning curve of the three lighting options. Positioning is just as important as power, and small adjustments can completely change the final image. For wide-angle photography, strobes are usually positioned wider and angled slightly outwards to reduce backscatter. For macro photography, they’re brought closer and aimed more directly at the subject for precise lighting. It takes practice and patience.
They’re designed for still photography rather than video, so they aren’t suitable if filming is your priority. Strobes also need time to recycle between flashes. This can make it harder to capture long bursts of fast-moving subjects, such as schooling fish or hunting trevallies at Richelieu Rock.
As with video lights, it’s important to consider how artificial lighting may affect marine life. While many animals tolerate an occasional flash, others can be more sensitive, particularly during night dives or when they’re feeding, hunting, or cleaning. At DiveRACE, we always encourage responsible underwater photography. Some marine life can be sensitive to artificial light, especially during night dives or while feeding and cleaning. Avoid repeated flashes and always put the animal’s welfare first.
One final tip is to pay attention when switching between lighting methods. If you’ve been shooting with natural light and a custom white balance, remember to reset your white balance before using strobes or video lights. Leaving a manual white balance active can produce inaccurate colours because the camera is now receiving artificial light instead of relying solely on ambient light. Resetting it to Auto White Balance, or your camera’s default setting, usually delivers much more natural results.
So which underwater lighting setup is best?
There isn’t a single lighting setup that’s best for every dive.
Natural light is often the best choice for shallow dives with bright sunshine and good visibility. Video lights are ideal for underwater videography, close-up subjects, and darker environments. Strobes continue to deliver the highest image quality for underwater photography.
If you’re just starting out, I’d recommend mastering natural light before investing in additional lighting. Learning how sunlight behaves underwater, using manual white balance, and improving your composition will benefit every image you create.
As your skills develop, you’ll naturally discover which lighting system suits your style of diving. Many underwater photographers and videographers eventually use all three, choosing the right tool for the conditions rather than relying on a single setup.
Practice your underwater imaging in the Similan Islands on board MV DiveRACE Class X. Book your next Similan liveaboard adventure here.
Related Articles
-

The Vanishing Wrecks of the South China Sea
Wrecks have a special pull on divers. They’re time capsules, artificial reefs,…
-
MV DiveRACE Class X
INTRODUCTION We are excited to present our latest liveaboard project – MV…
-
Improve your Buoyancy: A Comprehensive Guide – Part 1
A thorough understanding and practical application of buoyancy is crucial for safe…


